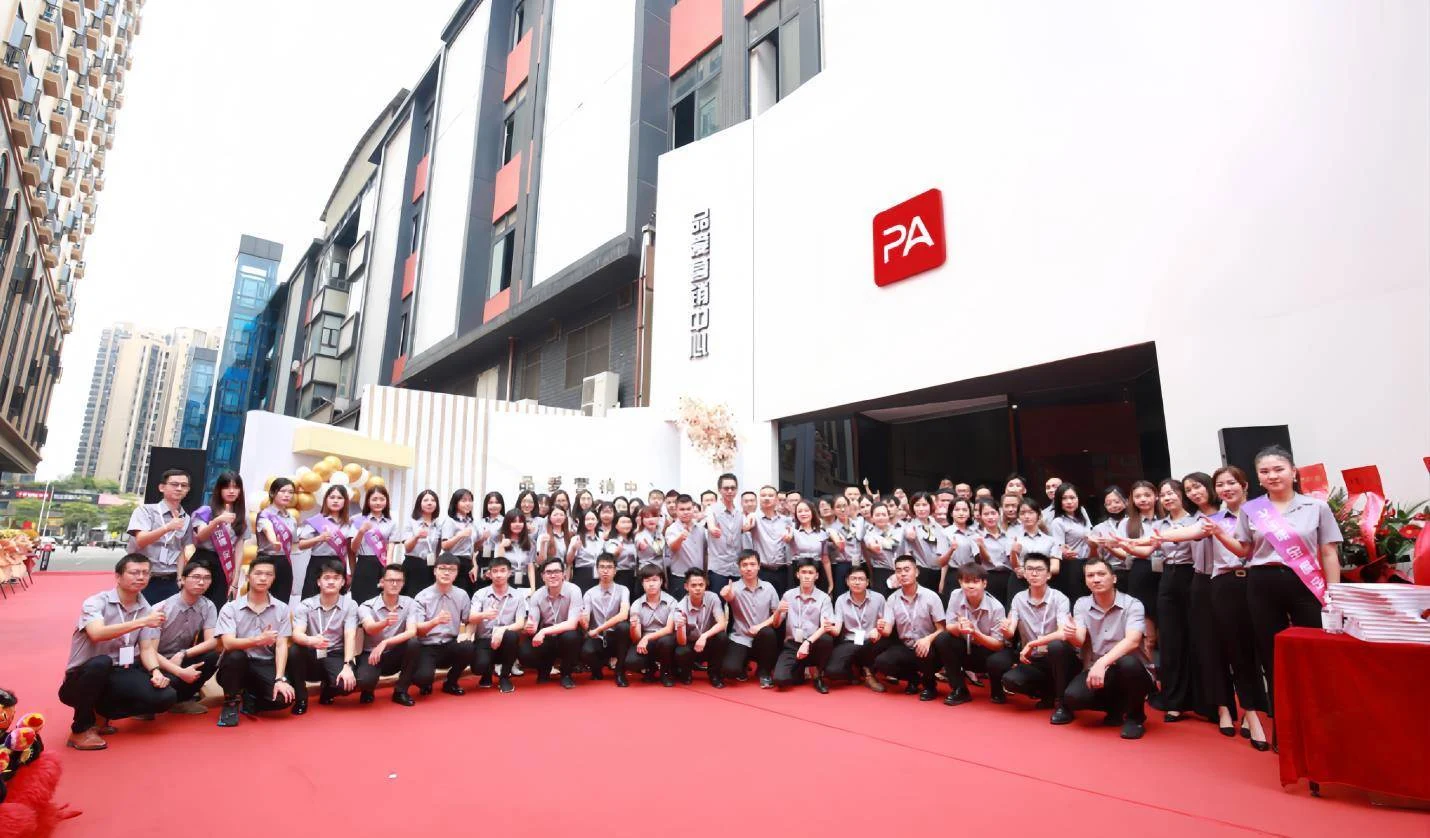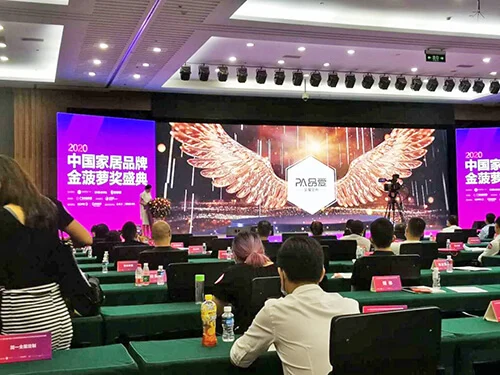
The Fifth China Custom Home Furnishing Marketing Development Forum
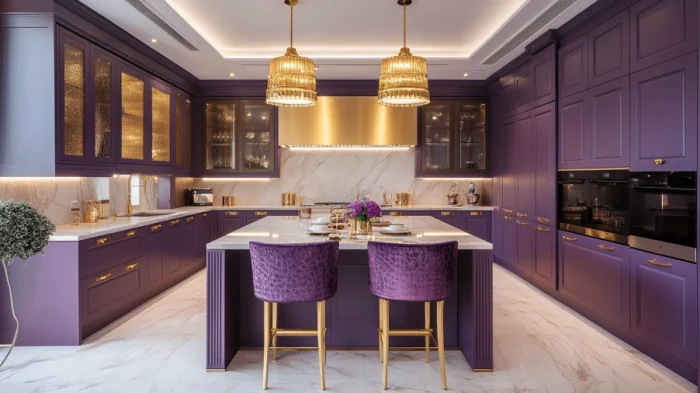
Purple is a color that’s both bold and inspiring, and when used in kitchen design, it has the power to
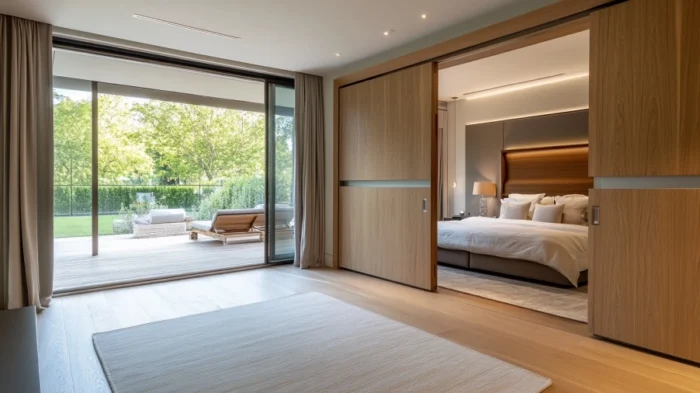
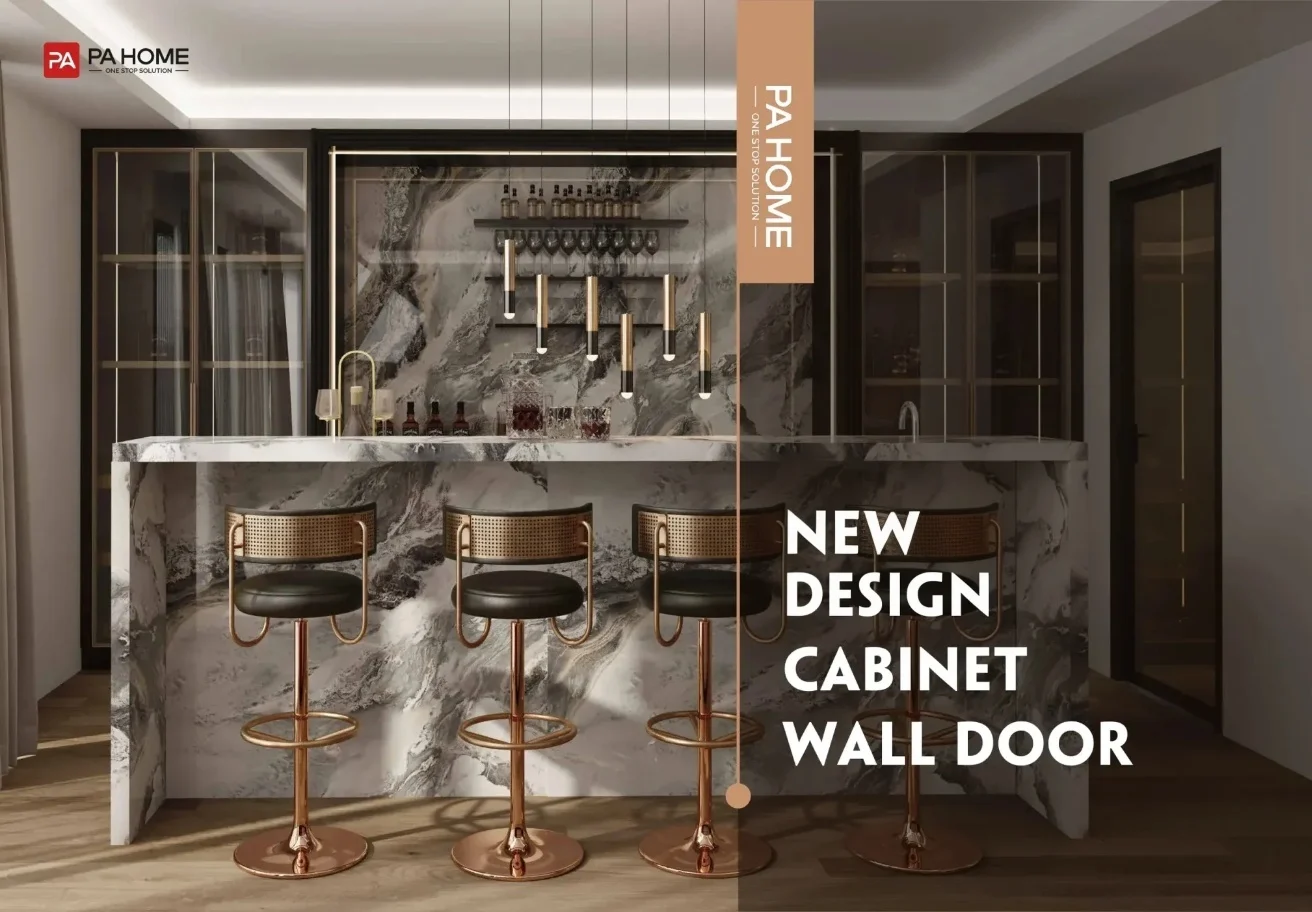
Pocket doors have become a go-to solution for modern home design, especially in spaces where saving room is essential. These
Interior design keeps evolving, but one element never seems to go out of style—wooden interior doors. Whether you walk into