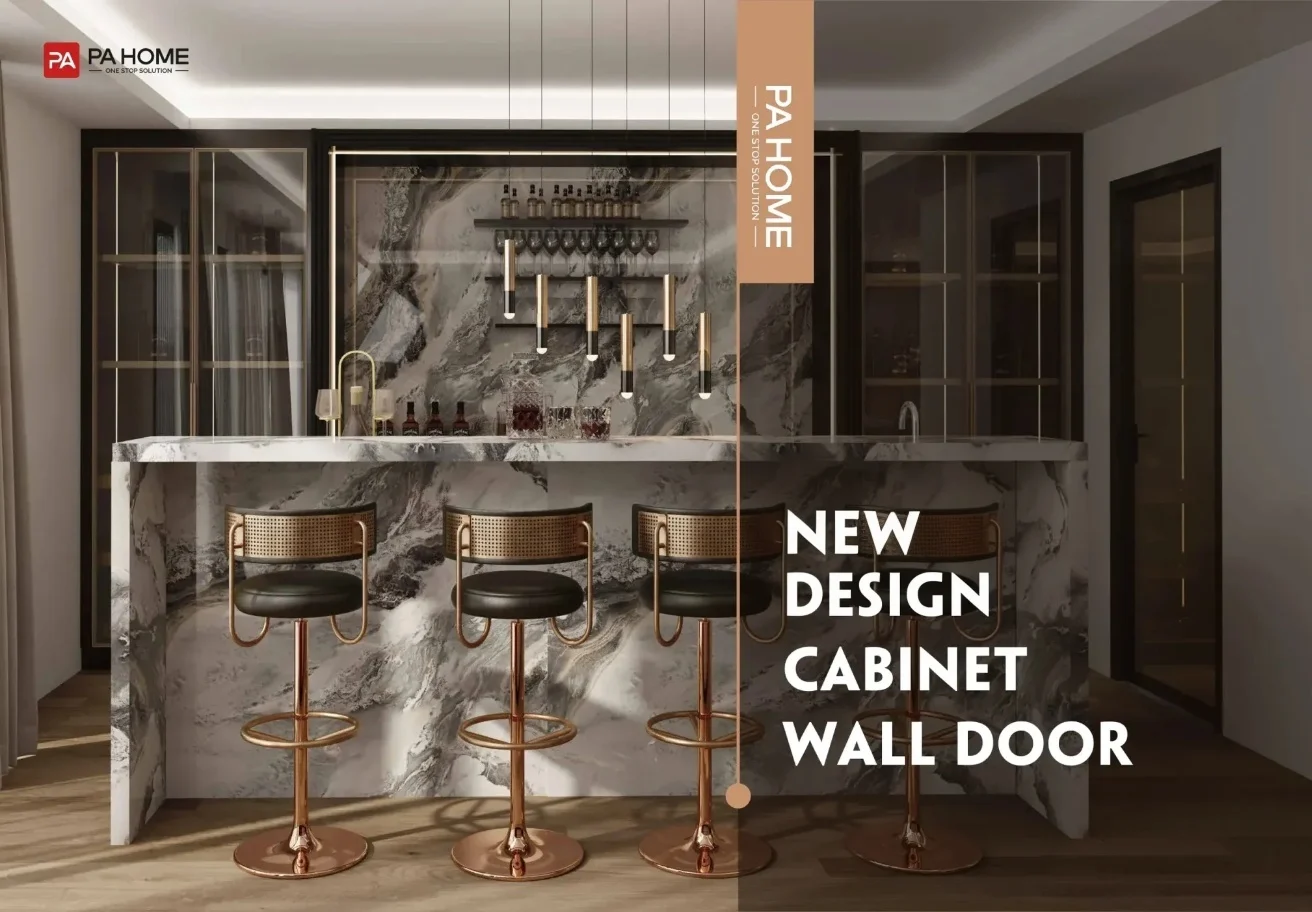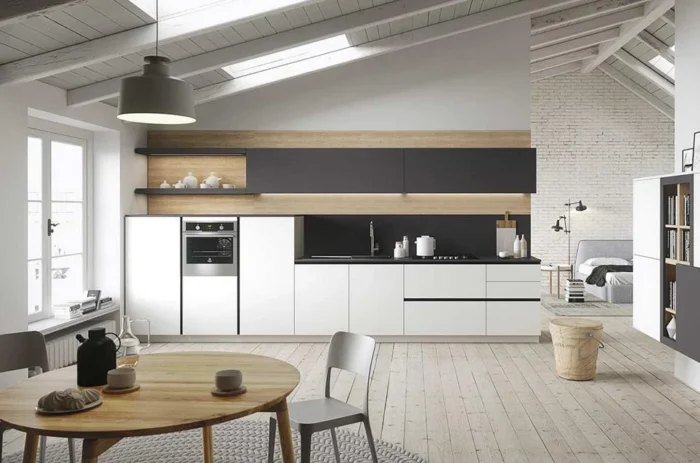
Introduction The kitchen, often referred to as the heart of a home, is the centre for family gatherings, meal preparations,
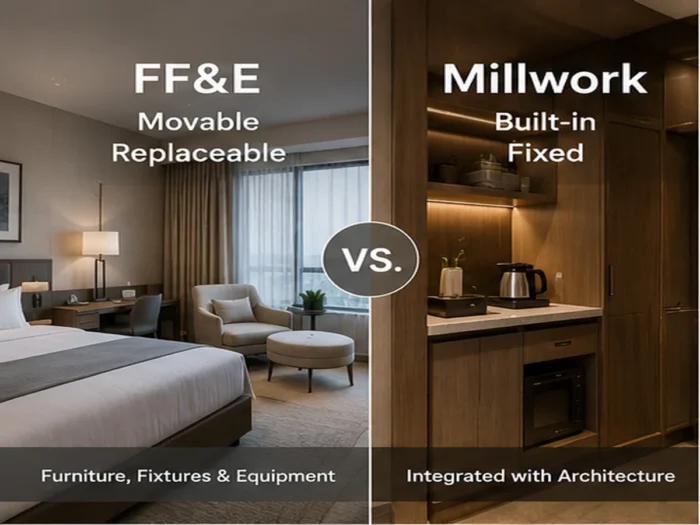
In hotel projects, a small scope mistake can turn into a big budget problem. A nightstand looks simple. A wardrobe

Wood bathroom vanities are a popular choice for homeowners looking to add warmth and style to their bathrooms. In this comprehensive guide, we’ve covered everything you need to know about wood bathroom vanities
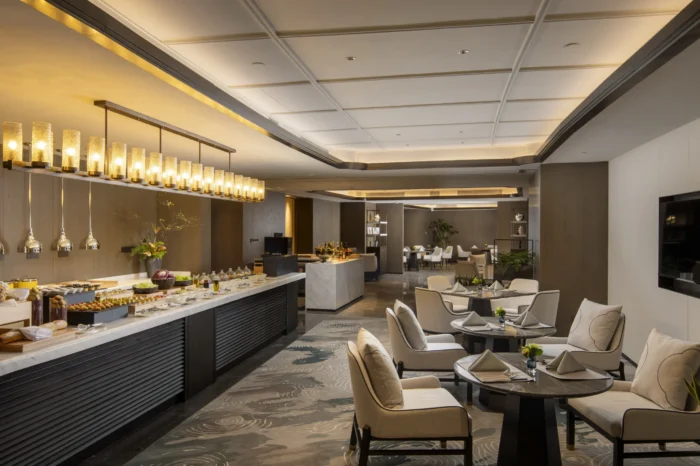
A curated list of leading global manufacturers specializing in hospitality furniture solutions.